


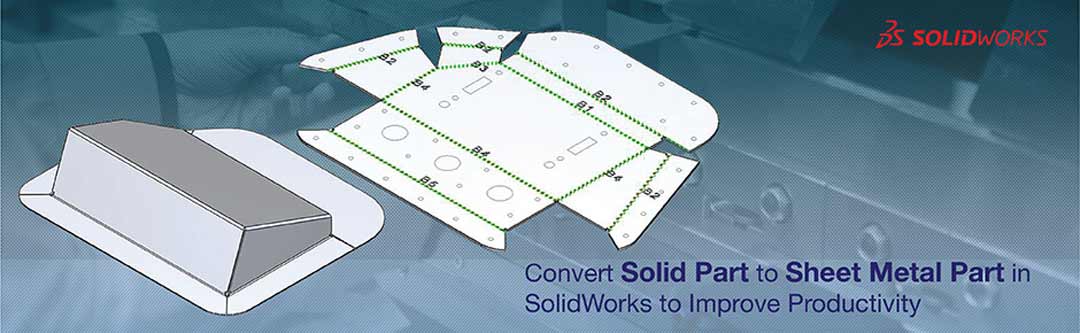
Designers use SolidWorks to convert solid parts to sheet metal to eliminate modeling redundancy, stay faithful to the original design intent and auto-generate flat patterns ready for fabrication. This saves time while helping to produce accurate sheet metal components for production.
Table of Contents
- Advantages of converting solid models to sheet metal in SolidWorks
- Preparing solid models for sheet metal conversion in SolidWorks
- Step-by-step process to convert solid parts to sheet metal in SolidWorks
- Configuring sheet metal parameters for accurate fabrication
- Verifying manufacturability of converted sheet metal parts
- Conclusion
Design teams often have to take in a legacy CAD model of a solid part and convert it into a sheet metal part. The time-consuming and error-prone process of manually converting those solid parts to use sheet metal-specific features causes a colossal waste of engineering hours.
With the ability to directly convert solid part to sheet metal using SolidWorks, the redundant effort is eliminated. The conversion preserves both the original design geometry and all parametric relationships.
This solid to sheet metal conversion also maintains the dimensional accuracy of the solid part and automatically creates the necessary flat pattern and bend features for production.
This saves engineering design teams time because it reduces the number of iterations through the design process and enables them to transition their designs to the shop floor much quicker. This allows them to produce shop floor ready sheet metal parts with very little manual intervention.
Advantages of converting solid models to sheet metal in SolidWorks
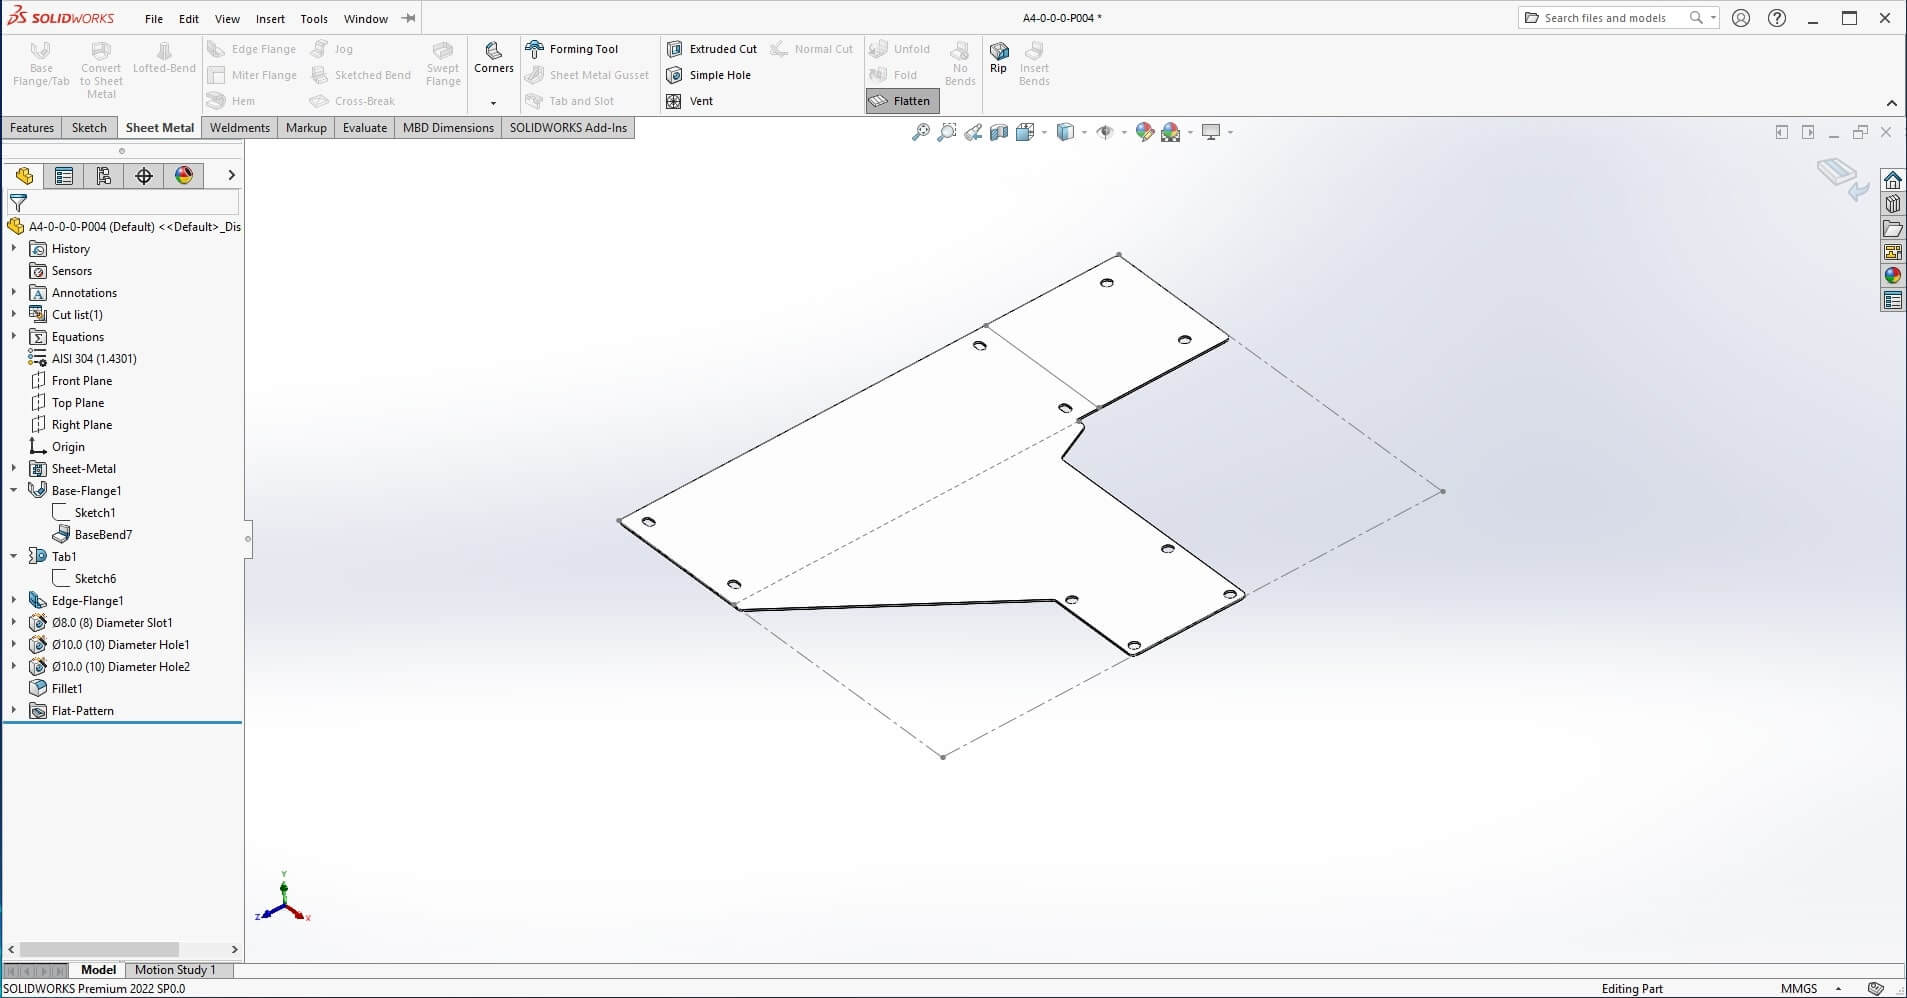
SolidWorks solid to sheet metal conversion can solve many issues related to workflows when your design team works on parts that will be fabricated using sheet metal.
Here are some of the principal benefits of converting solid models to sheet metal in SolidWorks:
- Faster design times to transform legacy solid models into sheet metal components.
- No need to rebuild parts using a different sheet metal workflow.
- Automatic generation of flat patterns for fabrication processes.
- Preserving design intent in sheet metal engineering when converting solid geometry into sheet metal features.
- Improved collaboration between design and fabrication teams.
- Ability to quickly move from CAD design to shop floor ready sheet metal parts.
- Supporting fast engineering changes using parametric sheet metal features.
- Fewer modeling errors due to the use of SolidWorks sheet metal automation tools.
- Simpler drawing extraction for fabrication-ready flat pattern drawings for manufacturing workflows.
Preparing solid models for sheet metal conversion in SolidWorks
When you are trying to successfully convert solid parts in SolidWorks, you need to prepare the solid model prior to initiating the sheet metal conversion process. These 3D CAD models must be created based on the same geometric constraints that are used in sheet metal manufacturing processes.
A. Verifying geometric requirements before conversion
First, verify the uniform thickness requirement in sheet metal models. The entire component must have uniform material thickness. For the solid model to reflect this requirement, it must also be uniformly thick.
Verify that all walls within the part have a uniform thickness that is compatible with the sheet fabrication process (i.e., generally 0.5 mm to 6 mm for most applications). Verify that there are planar faces that can be used as the bases for the sheet metal conversion.
Identify the edges that will be converted to bend lines during the conversion process. Each edge must be able to connect two or more adjacent planar faces at an angle that is possible to achieve with a press brake operation.
Be sure to verify and confirm that the geometry can be unfolded into a valid flat pattern without distortions.
B. Resolving modeling issues that affect sheet metal conversion
Remove complex sculpted or organic surfaces that can’t flatten into a plane. Curved surfaces that are unsuitable for sheet metal forming must be replaced with planar faces or a less complex geometry.
Correct intersecting geometries that prevent sheet metal parts from unfolding. Solve any internal solid features that will interfere with bend creation by moving them away from where you want to create your bend.
Leave space (at least 2.5 times the material thickness) between edge of feature and bend line to maintain manufacturability. Also check if edge will work well as a bend or rip edges in sheet metal parts when converting to sheet metal.
Step-by-step process to convert solid parts to sheet metal in SolidWorks
When you convert sheet metal part in SolidWorks you need to follow a sequence of steps with each step transforming solid geometry into sheet metal features.
Step 1: Open your solid model and display the Sheet Metal toolbar either by selecting View > Toolbars > Sheet Metal or getting the sheet metal commands through Insert > Sheet Metal menu.

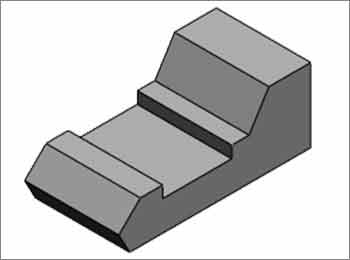
Step 2: Begin the conversion by selecting Insert > Sheet Metal > Convert to Sheet Metal.

Step 3: Open the SolidWorks Sheet Metal Property Manager to set up conversion parameters. You use this to set thickness and bend parameters, and for defining edges to be used to select the bend type.
Step 4: Choose the correct sheet metal gauge table from the library or import your own custom sheet metal gauge table to define your sheet metal part’s thickness and material properties.
Step 5: Identify the base face to serve as the fixed reference during the flattening operation. Typically this is the largest planar surface or primary mounting surface on the solid model.
Step 6: Set the sheet metal thickness and the default sheet metal bend radius configuration for the new sheet metal part. Generally, the default bend radius will be some multiple (usually 0.5 to 2 times) of the material thickness.

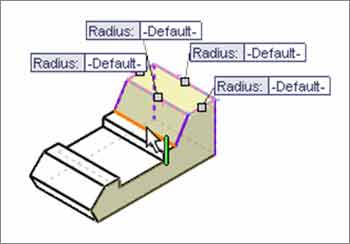
Step 7: Use the Bend Edges feature to identify and mark the edges of the solid model that correspond to the bends between adjacent planar surfaces. For each selected edge, a corresponding bend feature is generated.
Step 8: Use the Rip Edges feature for defining rip gaps in sheet metal parts where the closed geometry has to be opened up for flattening. A rip gap is defined as the distance between two separated edges.
Step 9: Using the K-factor or bend deduction, configure the bend allowance parameters for the sheet metal bend. Also, choose a bend relief type such as rectangular, tear or obround to prevent tears in the bent material.
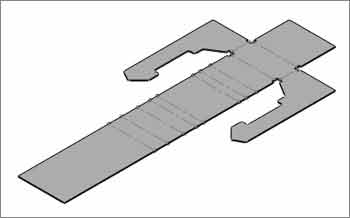
Step 10: Verify your sheet metal conversion and click the flatten button to create the flat pattern feature that represents the unfolded sheet metal.


Configuring sheet metal parameters for accurate fabrication
After a SolidWorks solid to sheet metal conversion, proper sheet metal parameter settings will ensure the converted part meets manufacturing requirements and will provide correct fabrication results.
- Configure sheet metal bend radius configuration based on the type of material and fabrication limitations (soft materials = 0.5 – 1x; hard materials = 1.5 – 2x).
- Use the same sheet metal thickness settings for all parts within the sheet metal model to eliminate geometric problems.
- Apply custom bend allowance in SolidWorks by utilizing k-factors determined through actual bending tests.
- Use bend tables to match real-world press brake tooling and material behavior to improve dimensional accuracy.
- Set bend relief parameters such that they extend past the bend radius tangent point 1 – 2 times the material thickness.
- Define gauge tables to use throughout your company so you can follow manufacturing standards for multiple parts.
- Verify that your bend allowances are compatible with your current fabrication equipment and bending process.
Verifying manufacturability of converted sheet metal parts
Manufacturability checks in SolidWorks sheet metal confirm that all design and manufacturing best practices have been followed during the conversion process. These checks are also essential when preparing detailed 2D manufacturing shop drawings.
For example it ensures that all holes and slots have been placed at least 2.5 to 3 times material thickness away from bend zones.
Check that bend lines and directions meet press brake operation requirements. At this stage, you need to be sure that bend reliefs and corner treatments were generated correctly. So you run a round of sheet metal feature validation to identify any geometric problems before the design is sent to manufacturing.
When verifying the flat pattern integrity, you run checks for continuous edges and ensure there are no gaps. Use the flatten tool verification for sheet metal before exporting your fabrication file so the part unfolds without errors.
We have listed below some crucial verification checkpoints:
| Verification checkpoint | What to check | Acceptable range |
|---|---|---|
| Verification checkpoint Feature to bend distance | What to check Clearance from holes to bend lines | Acceptable range Minimum 2.5× thickness |
| Verification checkpoint Bend relief depth | What to check Extension beyond bend tangent | Acceptable range 1-2× thickness |
| Verification checkpoint Flat pattern integrity | What to check Continuous edges, no gaps | Acceptable range Complete closed boundary |
| Verification checkpoint Bend angles | What to check Press brake achievability | Acceptable range 30° to 180° |
Now you need to save and export the DXF or DWG file of the sheet metal part flat pattern for use in a laser cutting, punching or CNC fabrication workflow. Verify that the resulting geometry can create shop floor ready sheet metal parts directly from the exported fabrication file.
Conclusion
Creating sheet metal from solid parts in SolidWorks removes unnecessary modeling effort while keeping the design’s integrity intact through the entire process. Transforming solid legacy models into fabrication ready components eliminate hours of engineering time by reducing errors that occur when manually reconstructing a model from its solid form.
When properly prepared and executed using systematic conversion processes, verified thoroughly, the solid designs can be accurately transformed into accurate shop floor ready sheet metal parts with all the necessary manufacturing intelligence for the shop floor.

 Feb 28th, 2024

Leave a Reply